Posted:
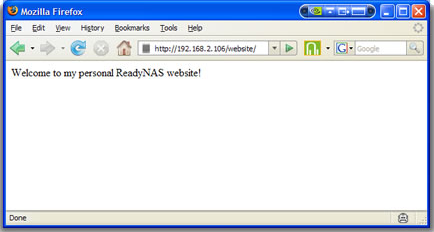 One of the most common tasks ReadyNAS users wish to use their devices for is to host a small personal web site
Creating a basic Personal Web Server is very easy to do and documented on the ReadyNAS site here
This basic setup is perfectly sufficient for hosting HTML only based web sites, but many users would like to go that step further and create more advanced setups, perhaps using common Open Source CMS systems such as WordPress (like this site) or Joomla. To support such setups, the ReadyNAS typically needs to be updated to support both PHP - a common programming language used for creating web sites - and MySQL - a relational database application.
Here’s how to add the PHP and MySQL missing pieces:
Note: Where addons are linked to, the applicable version is as follows:
- sparc version for ReadyNAS Duo / NV / NV+ / 600 / 1100
- x86 version for ReadyNAS Ultra, Ultra Plus / Pro / NVX and all rack mount units excluding the 600 & 1100
Installing PHP
PHP support can be enabled by installing one of PHP addons available from the [ReadyNAS Community Addons]forum. Personally I would recommend the “WhoCares?” PHP 5.2 addons - x86 version, sparc version - as these tend to be compatible with all other addons, have worked well for me over the years and come with the modules required for PHP access to MySQL databases. Other versions of PHP addons may provide additional features that may be required, so check them out.
Note: Unless you know that you need PHP 5.3 - which includes language construct changes vs PHP 5.2, not just enhancements - I would not recommend installing that PHP addon
Enabling MySQL
MySQL is included in the default ReadyNAS firmware for all devices as it is used by the ReadyNAS Photos application. However, if you are not using the ReadyNAS Photos application, then MySQL is disabled by default. It can be enabled by installing the MySQLON addon: x86 version, sparc version
Note: MySQLON and ReadyNAS Photos should not be enabled at the same time as the 2 may conflict
Managing MySQL Databases
Once MySQL is enabled, there is of course a requirement to create and manage the MySQL databases. If you have enabled root SSH access to your NAS, then you can of course manage MySQL from the command line. For those less adept with commandline access, there is an application called phpMyAdmin (x86 version, sparc version) that can be installed to provide a web based graphical front end to managing MySQL.
Once installed, browse to the address http://<nas-ip-address>/phpadm - using “admin” and your ReadyNAS admin password if prompted for access to the page. Once loaded you should see this:
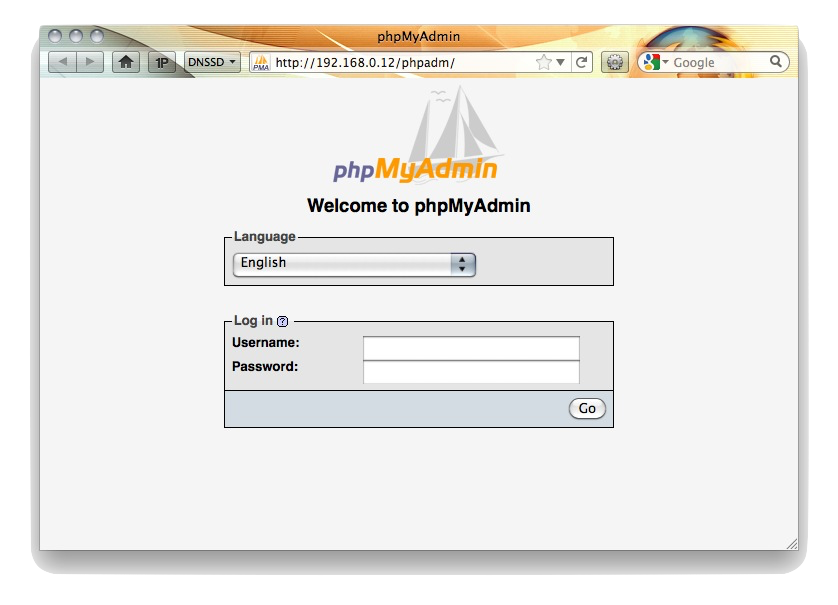
To login for the first time use the user name “root” and leave the password blank. This should give you access to the following page:
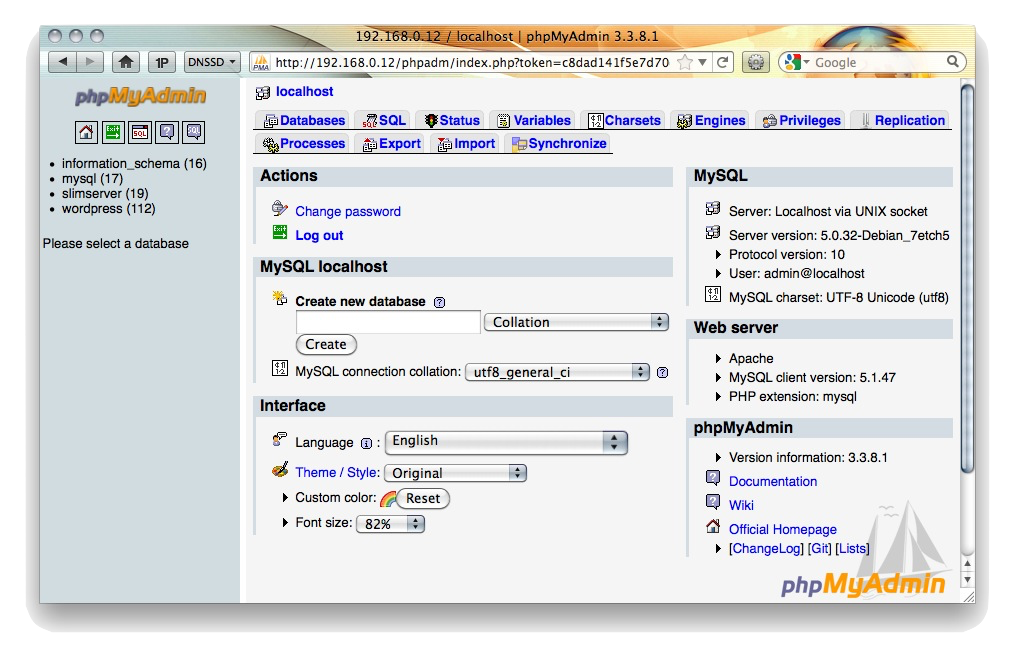
From here you can create and manage you databases, create new MySQL users and, of course, set a password for the root MySQL account.
Backing Up Your MySQL Database
Due to the nature of database applications, care must be taken when backing them up - as most users would prefer their databases to continue to run while being backed up, stopping the MySQL server and copying the actual database files is not usually acceptable.
There are 2 options to over come this:
-
Use phpMyAdmin to export the data from a database. This has the advantage of allowing you to make a backup on demand while the database continues to be functional, but is a very manual process
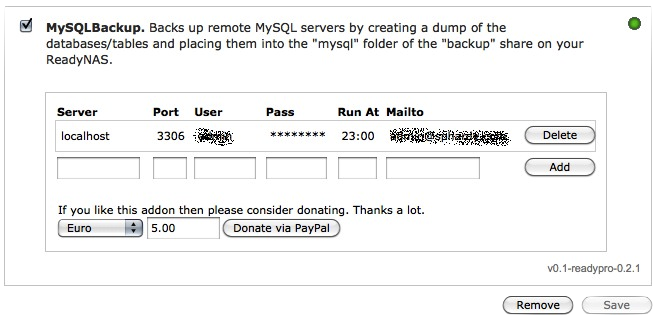
-
Install the MySQLBackup addon (x86 version, sparc version). This addon allows you to schedule regular database backups maintaining daily, []weekly and monthly archives of all databases in your backup share.
Finally…
Often a user will want to edit the web site on the NAS via a share protocol such as CIFS or AFP, and will connect to the NAS using a personal user account. To ensure that the ReadyNAS web server can read files created and edited by users, it is important that “everyone” is granted read permission to files created within the share. Details of how to set this up are covered in this post
And that’s it.
Comments